Annual Crawl Space Maintenance: A Charleston Homeowner’s Step-by-Step Checklist
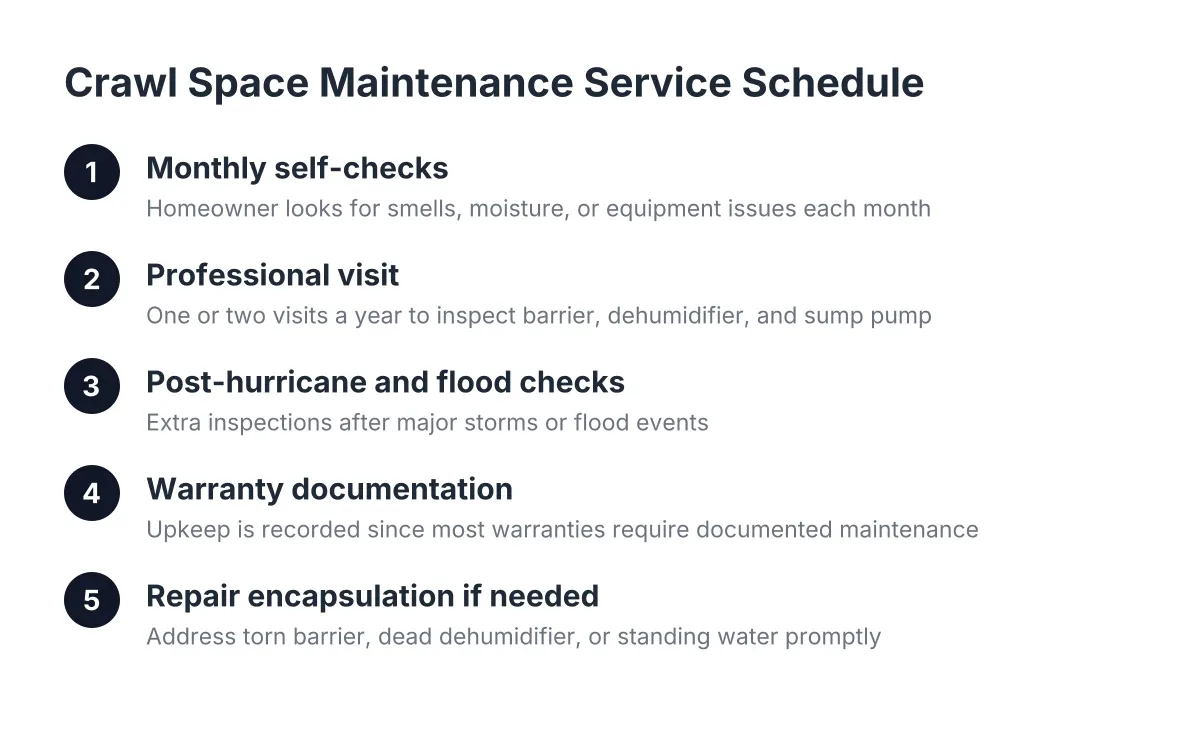
An encapsulated crawl space is not a set-it-and-forget-it upgrade. In Charleston, annual crawl space maintenance is what keeps a vapor barrier, dehumidifier, and sump pump doing their jobs year after year. Following an annual crawl space checklist helps most homeowners catch problems before they compound. The hard truth is that most companies install a system and disappear. Then a dehumidifier filter clogs, a sump pump float sticks, and two summers of coastal humidity quietly undo the work. A maintenance-first approach treats the install as the start of the relationship, not the end of it.
This matters even more if you are already noticing changes upstairs. A floor that feels bouncy in the hallway, or a door that suddenly sticks, often traces back to moisture that crept in after the crawl space stopped getting attention. According to the American Society of Home Inspectors, more than 60% of U.S. homes have had water or moisture problems in their basement or crawl space. Charleston's tidal lots and year-round humidity put us on the hard end of that statistic. NOAA Tides and Currents recorded 17 high-tide flood days here during the 2023-24 meteorological year, a record for the city.
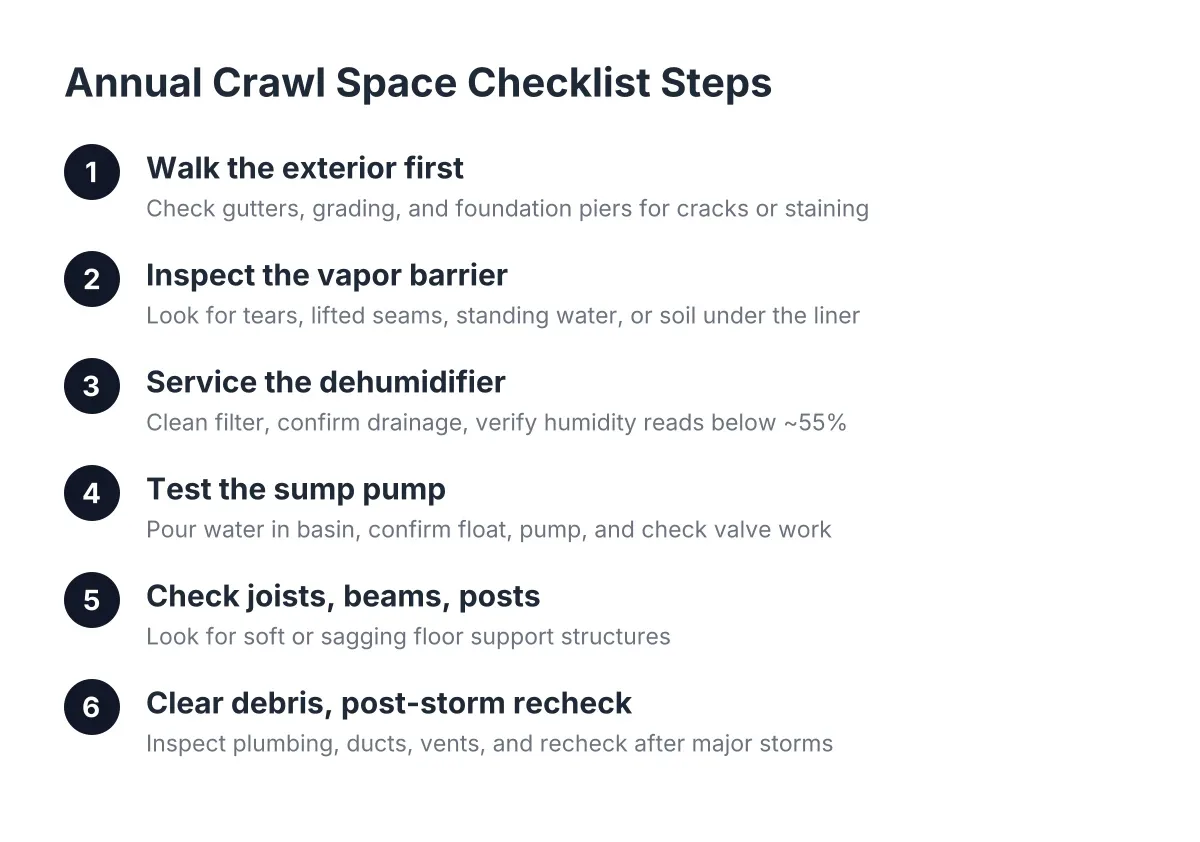
Here is the checklist. Work through it once a year, ideally in spring before the summer humidity peaks, and again briefly after any hurricane or major flood event.
Step 1: Walk the Outside of the House First
Start outside, before you ever open the crawl space door. Most people skip this, and it is where many crawl space problems begin.
Check that gutters are clear and downspouts discharge at least several feet from the foundation. Look at the grading; soil should slope away from the house, not toward it. On a Charleston peninsula lot with a high water table, even a slight low spot against a brick pier foundation can funnel tidal or storm water straight under the house.
In addition, scan the foundation walls and piers for new cracks, white mineral staining, or mortar loss. On pre-1950s pier-and-beam homes, note any pier that looks tilted or has fresh soil washed out around its base. Take photos each year so you can compare.
One code note worth knowing: some states require a termite inspection strip near the top of the foundation wall to stay uncovered by the vapor barrier, according to Stego Industries. If your encapsulation covers that strip, ask about local requirements before your next termite inspection.
Step 2: Annual Crawl Space Checklist — Inspect the Vapor Barrier for Gaps, Tears, and Lifting Seams
Now go under the house with a good flashlight. A properly encapsulated crawl space has plastic sheeting running across the entire floor, sealed to the stem walls and around support piers, according to the U.S. Department of Energy. Loose plastic lying on the dirt is not encapsulation, and it will not hold up.
Look for these specific failure points:
- Seams where tape has lifted or peeled, especially at wall attachments
- Tears or punctures from a plumber, HVAC tech, or cable installer crawling through
- Sections pulled away from piers or stem walls
- Standing water or condensation beads on top of the liner
- Soil or water visible under the liner at the edges
Tradespeople cause more vapor barrier damage than weather does. A plumber fixing a leak goes straight to the pipe, does the repair, and leaves; almost nobody checks the rest of the space or mentions the liner they dragged a toolbox across. Small tape repairs are a reasonable homeowner fix. Large tears or widespread seam failure call for a professional reseal, because a compromised barrier lets ground moisture back into a sealed space with nowhere to go.
Step 3: Service the Dehumidifier and Verify the Humidity Reading
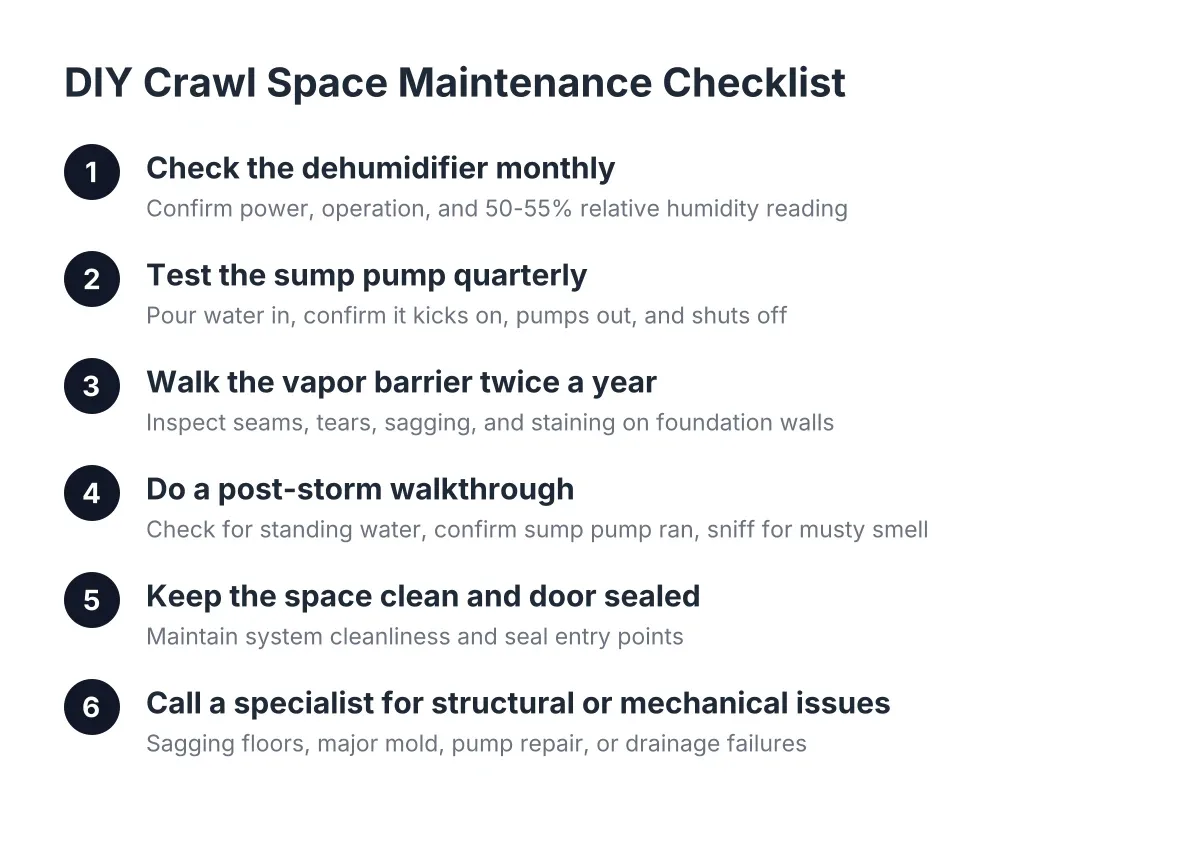
A crawl space dehumidifier needs attention at least once a year, and twice is better in the Lowcountry. Clean or replace the filter, confirm the unit drains freely to its condensate line or pump, and check that the coil is free of dust and rust.
Then verify the actual humidity, not just that the machine is running. A cheap hygrometer placed away from the unit should read below about 55% relative humidity. If the dehumidifier runs constantly but the space stays damp, something else is wrong: a torn barrier, a failed drain, or an undersized unit.
A word on quick fixes. DampRid buckets and similar moisture absorbers have a place in a closet, but they cannot keep up with a Charleston crawl space in July. If you find yourself swapping out DampRid containers under the house, the real system needs service.
Step 4: Test the Sump Pump and Check the Drainage
The sump pump in an encapsulated crawl space is the emergency exit for water. According to the Building America Solution Center, it sits at the lowest point of the space and ejects water automatically if a pipe bursts or flooding occurs, because a sealed crawl space otherwise traps water like a pool.
Test it the simple way: pour a bucket of water into the sump basin and watch. The float should rise, the pump should kick on, and the water should discharge outside, well away from the foundation. While you are there, clear any debris from the basin and confirm the check valve holds, meaning water does not drain back into the pit after the pump shuts off.
If your system includes perimeter drainage, look for sediment buildup at the drain inlets. The Building America Solution Center notes that these systems rely on the crawl space floor being graded to slope toward the drain; if silt has built up or the liner has shifted, water pools in the middle instead of reaching the pump.
Step 5: Check Floor Joists, Beams, and Support Posts
This is the step for anyone worried about a soft or sagging floor. While you are under the house, probe the floor joists and main beams with a screwdriver, especially above any spot that feels bouncy upstairs. Solid wood resists the tip; rotted wood gives way easily. Look for dark staining, fungal growth, or joists that have visibly dropped or pulled away from the beam.
Also check any support jacks or posts installed during a past repair. Confirm they sit plumb on their footings and have not settled into the soil. In older downtown homes on brick piers, look for crushed sills where the original beam meets masonry.
For example, suppose a homeowner on the peninsula notices the hallway floor flexing near the bathroom. Under the house, your annual crawl space checklist review finds a slow drip at a supply line fitting that has soaked one joist bay for months. Caught now, that might mean a plumbing fix, mold remediation in one bay, and sistering a single joist. Caught three years later, it could mean replacing a beam and multiple joists with structural support jacks, a repair that can run well into five figures on a historic home. That gap is the entire argument for annual crawl space maintenance. If you want a rough sense of worst-case numbers, an online foundation repair cost calculator can frame the range, but no calculator replaces eyes on your actual joists.
One honest limitation: if you find soft joists, a dropped beam, or doors sticking across the house, stop there and bring in a specialist or a structural engineer. Structural diagnosis is not a DIY call, and on a historic Charleston home the repair method matters as much as the repair itself.
Step 6: Check Plumbing Lines, Ducts, and Vents Under the House
Next, trace every visible water line and drain connection and look for active drips, corrosion, or mineral crust at the fittings. Minor leaks in a crawl space go unnoticed for years precisely because nobody is down there to see them. A pinhole leak can feed mold and wood rot long before it shows up on a water bill.
Inspect HVAC ducts for disconnected joints, crushed sections, or sweating on the outside of the duct. If your crawl space is conditioned, meaning it receives supply air and is pressure-balanced with the house above, as the Building America Solution Center describes, confirm any transfer grills are clear. Floor vents in a conditioned setup collect dropped debris and pet hair; pull the grills once a year and clean them out.
Finally, confirm old foundation vents remain sealed. An encapsulated space with one vent cover knocked loose is pulling humid outside air in all summer, and the dehumidifier pays the price.
Step 7: Clear Debris and Do a Post-Storm Recheck
Keep the crawl space empty. Stored boxes, leftover lumber, and construction trash trap moisture against the liner and give mold and pests a foothold. Clearing debris is part of proper crawl space maintenance, not an optional tidy-up.
After any hurricane, tropical storm, or major flood tide, do a short recheck within a week or two. You are looking for standing water on the liner, a sump pump that ran and failed, mud lines on the piers, and any new musty smell at the crawl space door. Storm surge and wind-driven rain can defeat a system that was working fine in May.
Why Your Annual Crawl Space Checklist Protects the Warranty Too
Annual crawl space maintenance protects your encapsulation warranty as much as it protects the house. Most encapsulation warranties assume the system is intact and serviced; a torn liner you never noticed, or a dehumidifier that died eighteen months ago, can give an installer grounds to deny a claim. A documented yearly checkup, with photos, closes that door.
It also protects the bigger investment. About 15% of American homes sit on a crawl space foundation, according to JSE Labs, and in Charleston that includes most of the historic housing stock. When moisture stays controlled after a structural repair or floor rebuild, the new framing can last for decades instead of rotting on the same schedule as the old wood. The pattern among homes that stay dry is consistent: the owner, or a specialist on a yearly schedule, actually goes under the house.
A one-page version of this checklist, dated and photographed each year as of 2026, takes about two hours to complete. Compare that to the alternative: finding out from a bouncy hallway floor that the system quietly failed three summers ago.
If you need crawl space encapsulation, Low Country Crawl Space Repair can help.
Prefer to talk it through? Call +18542013678 — a quick call is usually the fastest way to get a straight answer for your situation.