Why Crawl Space Flooding Happens in Charleston, and What to Do Right Now
Finding standing water under your house after a storm is unsettling, but you can act on it today. This guide explains why crawl space flooding happens so often in Charleston's tidal zones and coastal climate, then walks you through the flooded crawl space steps to address the issue, helping you understand what to do step by step. If your floors already feel soft or bouncy, that makes this more urgent, not hopeless. Work the steps in order and you will know what you are dealing with before the next heavy rain.
Charleston homes flood from below more than most. NOAA Tides and Currents recorded 17 high-tide flood days here during the 2023-24 meteorological year, a record for the city. Add a high water table, flat lots, hurricane-season downpours, and the vented pier-and-beam crawl spaces under most pre-1950s peninsula homes, and water under the house stops being a fluke. It becomes a pattern you can plan for.
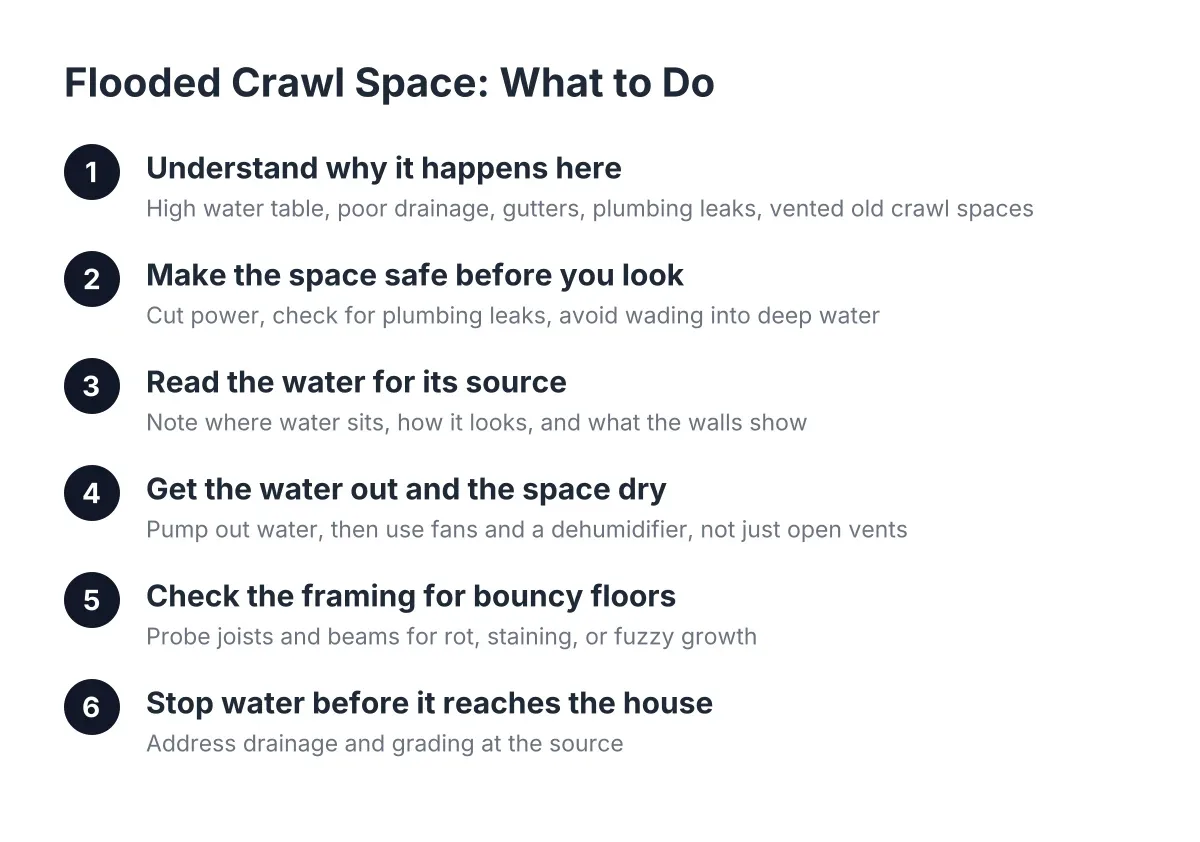
Step 1: Understand Why Crawl Space Flooding Happens Here
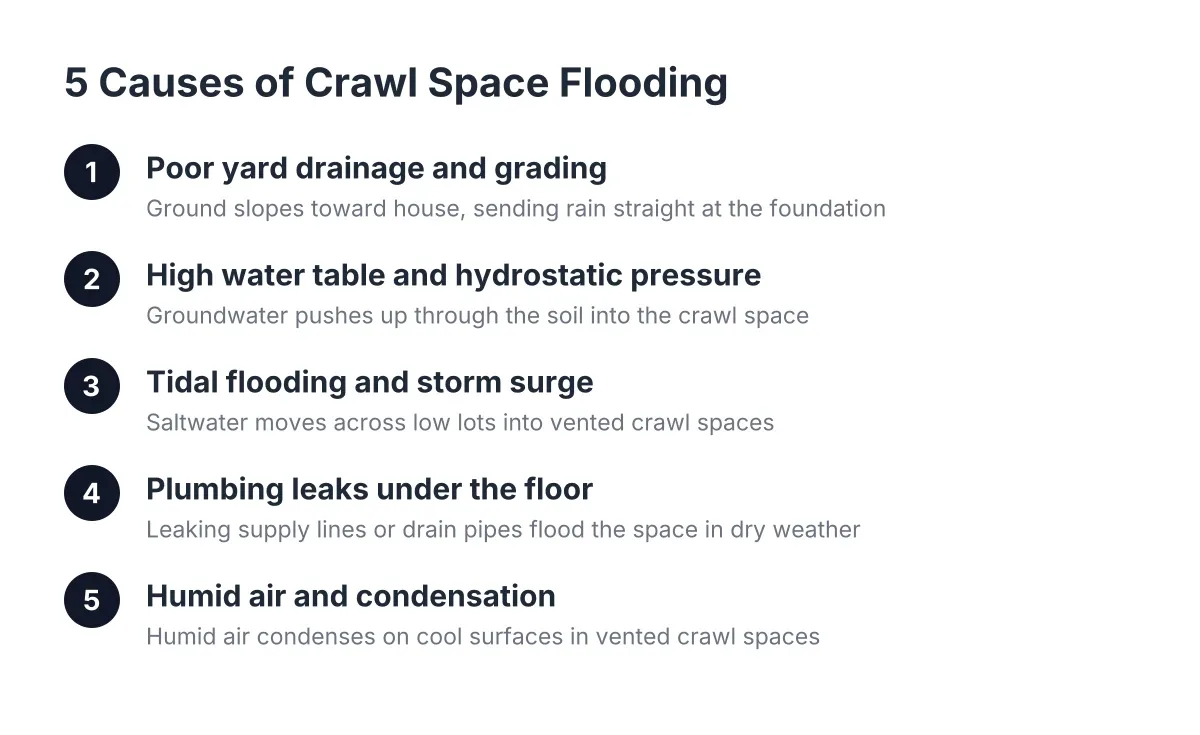
Crawl space flooding happens in Charleston for a short list of reasons: a high coastal water table that rises during king tides and storms, poor yard drainage on flat low-lying lots, failed gutters and downspouts dumping roof water at the foundation, and plumbing leaks under the house. Most flooded crawl spaces involve two or more of these at once.
Knowing your cause matters because it decides the fix. Roof water pooling against the foundation is a gutter and grading problem. Water rising up through the soil during a spring tide is a water table problem that needs drainage and a sump pump. A slow plumbing leak needs a plumber before it needs anything else.
Older peninsula homes carry an extra factor. Their crawl spaces were built vented on purpose, with open brick or block piers and air flowing through. In Charleston's humidity, that ventilation often works against you. Humid outside air enters, condenses on cool framing, and keeps the space damp even between floods. So a home can have both an occasional flooding problem and a year-round moisture problem, and they feed each other.
You are not alone in this. According to the American Society of Home Inspectors, more than 60% of U.S. homes have had water or moisture problems in their basement or crawl space. In the Lowcountry, that share is not a surprise.
Step 2: Make the Space Safe Before You Look
Before anyone crawls under the house, kill the electrical risk. Standing water plus wiring, junction boxes, or an old sump pump is a real hazard. If you have any doubt, shut off the breaker that feeds crawl space circuits, or the main breaker, before opening the access door.
Next, rule out a plumbing source. Check your water meter with all fixtures off. If the dial is moving, you may have an active supply leak under the house; shut off the main water valve. Sewer smells or gray, cloudy water suggest a drain line break, which changes the cleanup from a nuisance to a sanitation job.
Do not wade into deep water or crawl through it to inspect framing. Look from the access opening with a strong flashlight first. If the water is more than a few inches deep, or you cannot see what is in it, stop here and bring in a professional to pump it out safely.
Step 3: Read the Water for Its Source
From the access door, note three things: where the water sits, how it looks, and what the walls show. Water pools in the lowest section of the crawl space, so the puddle location points back uphill toward the entry point.
Use these quick reads:
- Water concentrated near one exterior wall after rain usually means a gutter, downspout, or grading problem on that side of the house.
- Water spread evenly across the space, appearing during king tides or big storms even without a plumbing issue, points to a high water table pushing up through the soil.
- Water near a bathroom or kitchen line, present in dry weather, points to plumbing.
- A uniform waterline stain high on the piers or old crawl space moisture barrier plastic does not automatically mean chronic deep flooding; on its own, a single old stain can come from one past event.
However, if you see a waterline plus clogged gutters, downspouts that dump at the foundation, and soggy soil around the house, treat it as a genuine recurring drainage problem, not a one-time storm.
Step 4: Get the Water Out and the Space Dry
Remove standing water first, then dry the air and the wood. A rented submersible pump or a wet vacuum handles shallow water; deeper or recurring water is a job for a crew with proper pumps. Pull out soaked debris, fallen insulation, and any old plastic sheeting that is holding water underneath it.
Drying takes longer than most homeowners expect. Charleston's outdoor air is humid most of the year, so blowing outside air through the vents often adds moisture instead of removing it. Commercial fans plus a crawl space dehumidifier will dry the framing; open vents alone in July will not.
Aim to have the space dried within a few days of the flood. Wet joists and beams that stay damp invite mold first, then wood rot. That is the cascade behind most sagging floors: moisture leads to mold, mold leads to rot, and rot leads to structural damage.
Step 5: Check the Framing, Especially If Floors Feel Bouncy
Once the space is dry enough to enter safely, inspect the wood. Probe joists, beams, and sill plates near the wettest areas with a screwdriver. Solid wood resists; rotted wood gives, flakes, or feels spongy. Look for dark staining, white or fuzzy growth, and sagging or shimmed joists from past repairs.
Suppose a homeowner on the peninsula notices the hallway floor bouncing a month after a tropical storm pushed water under the house. Under the hallway, a probe sinks half an inch into a girder near a pier. In that scenario, the flood did not cause the rot by itself; years of humidity softened the beam, and the flood finished the job. Following these flooded crawl space steps means the fix is structural support, sistered or replaced framing, and moisture control together, not one without the other.
This is the step where a professional inspection earns its keep. A rotted joist section might need a modest sister-joist repair, while a failed girder needs support jacks and beam repair, and the difference is hard to judge from the access door. For a high-value historic home, a structural engineer's opinion before major work is money well spent, and getting a second opinion on a big repair estimate is reasonable, not rude.
Step 6: Stop the Water Before It Reaches the House
Fix the cheap, outside problems first. Clean gutters, extend downspouts at least several feet from the foundation, and regrade soil so it slopes away from the house. On many Charleston lots, this alone cuts how often crawl space flooding happens after ordinary rain.
For water that rises from below, exterior fixes are not enough. A perimeter drain installed around the interior of the crawl space foundation wall intercepts water coming in under the foundation and channels it to a sump pump, according to Building America Solution Center (PNNL/DOE). Grading the crawl space dirt to slope gently toward that drain keeps water from pooling in the middle. In tidal and flood-zone neighborhoods, this drainage system is the difference between a wet week and a dry one.
Step 7: Seal and Encapsulate for the Long Term
Crawl space encapsulation is the long-term answer for a Charleston crawl space that floods or stays damp. According to the U.S. Department of Energy, encapsulation means running plastic sheeting across the entire crawl space floor and sealing it to the stem walls and around support piers, not laying loose plastic on the dirt. Done right, the space becomes part of the home's conditioned interior, dried by a dehumidifier instead of soaked by vented humid air.
A proper system in a flood-prone Lowcountry crawl space combines several crawl space encapsulation materials and components:
- Interior perimeter drainage tied to a sump pump at the lowest point of the space, which ejects water automatically if a pipe bursts or floodwater gets in. Without one, a sealed space can trap water like a pool, per Building America Solution Center (PNNL/DOE).
- A heavy, sealed vapor barrier across the floor and up the walls.
- Sealed vents and air-sealed penetrations, with insulation moved to the stem walls and rim joists rather than between the floor joists.
- A crawl space dehumidifier sized for the space.
One caveat for older Charleston homes: local codes in some states require a termite inspection strip near the top of the foundation wall left uncovered by the vapor barrier, according to Stego Industries, so a specialist should confirm what applies to your house. Encapsulation controls moisture and protects the framing; it is not a cure-all, and any existing mold or structural damage still needs remediation and repair first.
Move Before the Next Storm Does
Water under a Charleston house is common, but ignoring it is what turns a drainage bill into a structural one. Make the space safe, find the source, dry it fast, and check the framing. Then fix drainage and encapsulate so the next king tide passes under a dry, sealed crawl space instead of a wet one. If your floors already move when you walk, get an inspection now; rot only travels one direction.
If you need crawl space encapsulation, Low Country Crawl Space Repair can help.
Prefer to talk it through? Call +18542013678 — a quick call is usually the fastest way to get a straight answer for your situation.