Wood Rot in Crawl Space Beams: How to Detect, Repair, and Prevent It
If your floors feel soft near an exterior wall, or a bounce has crept into a hallway that used to feel solid, wood rot in the crawl space is one of the most likely causes. Charleston homes sit on damp ground in humid air, and that combination feeds the wood decay fungus that eats floor joists, beams, and subfloor from below. The good news: caught early, this is a repair, not a rebuild. This guide walks you through the process step by step, so you can tell the difference between a minor moisture fix and a genuine structural emergency, and avoid paying for one when you only need the other.
Moisture problems under the house are common, not rare. More than 60% of U.S. homes have had water or moisture problems in their basement or crawl space, according to the American Society of Home Inspectors. In the Lowcountry, with high water tables and tidal lots, that percentage is not a surprise to anyone who has crawled under an older pier-and-beam home.
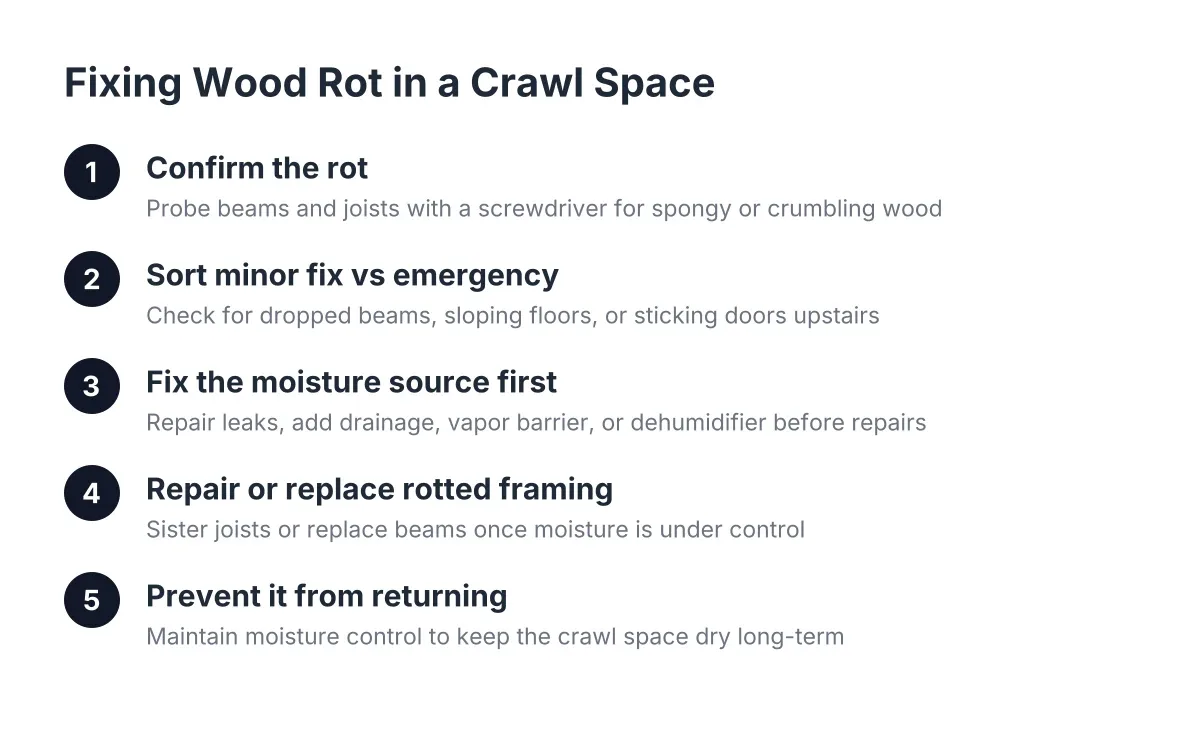
Step 1: Confirm the Problem Is Wood Rot in the Crawl Space
Before you plan a repair, verify that rot is what you are dealing with. Soft or sagging floors can also come from undersized joists, settled piers, or plumbing leaks that have not yet caused decay. The fix is different for each one, and the price is too.
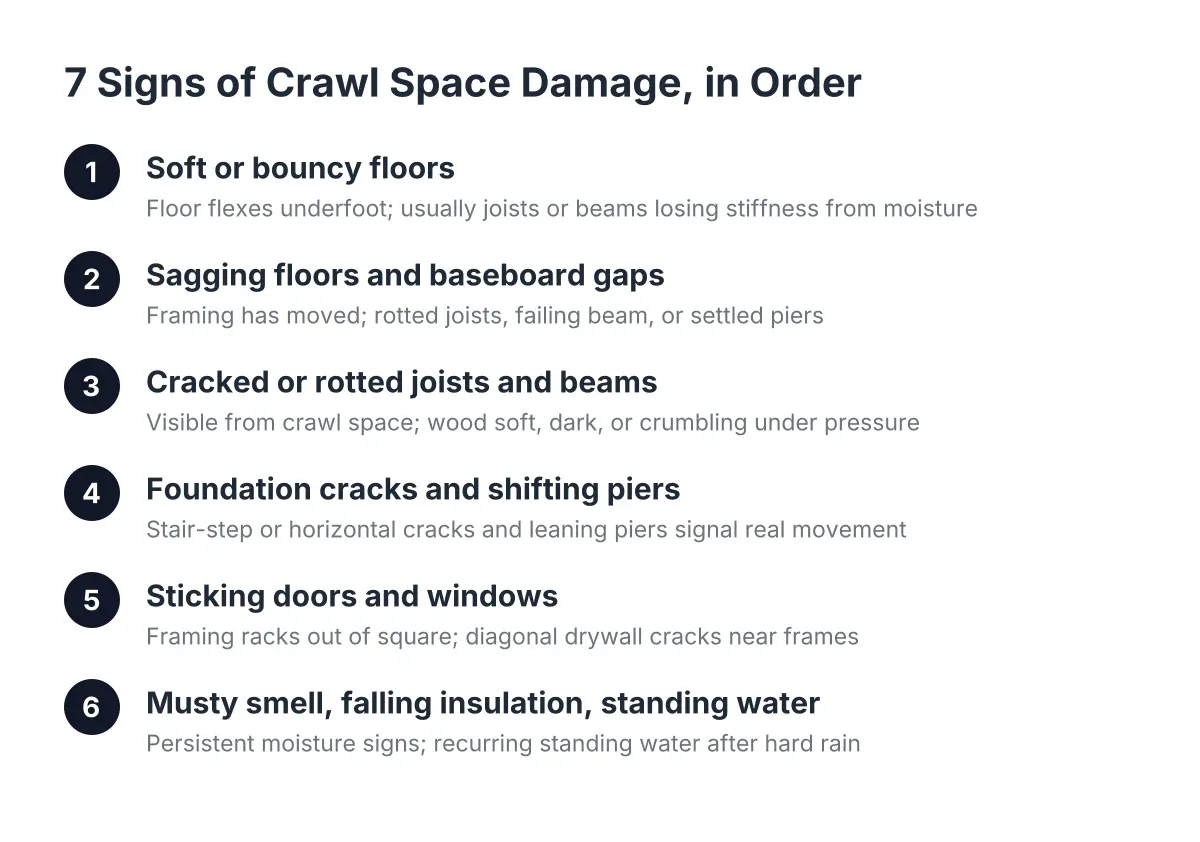
Get under the house with a flashlight and a screwdriver, or have a crawl space inspection done if access is tight. Probe the wood near the sill plates, the main beams, and the joists closest to bathrooms and exterior walls. Sound wood resists the screwdriver. Rotted wood gives way, crumbles, or feels spongy.
Look for these signs while you are down there:
- White specks or fuzzy white growth on joists, a common sign of wood-rotting fungus in damp conditions
- Dark staining or a stringy, fibrous texture on beam faces
- Wood that flakes or breaks into cube-shaped chunks, often called dry rot, which still needs moisture to start
- A strong musty smell that gets worse after rain
- Standing water, wet soil, or condensation dripping from ductwork
Pay close attention to the main support beams. They are built from layered lumber that absorbs and holds more moisture than single joists, so fungus often shows up there first. In addition, do not assume a newer home is safe. Wood decay fungus can grow on floor joists in brand-new construction whenever moisture is present.
One note for context: some dampness around the crawl space perimeter after a heavy rain is normal for a vented pier-and-beam home in Charleston. The same dampness in a dry stretch of July, with no rain for two weeks, points to a moisture source that needs fixing.
Step 2: Sort a Minor Fix From a Structural Emergency
This is the step that protects your wallet. Not every soft spot means jacks and beam replacement, and not every contractor visit should end in a five-figure quote.
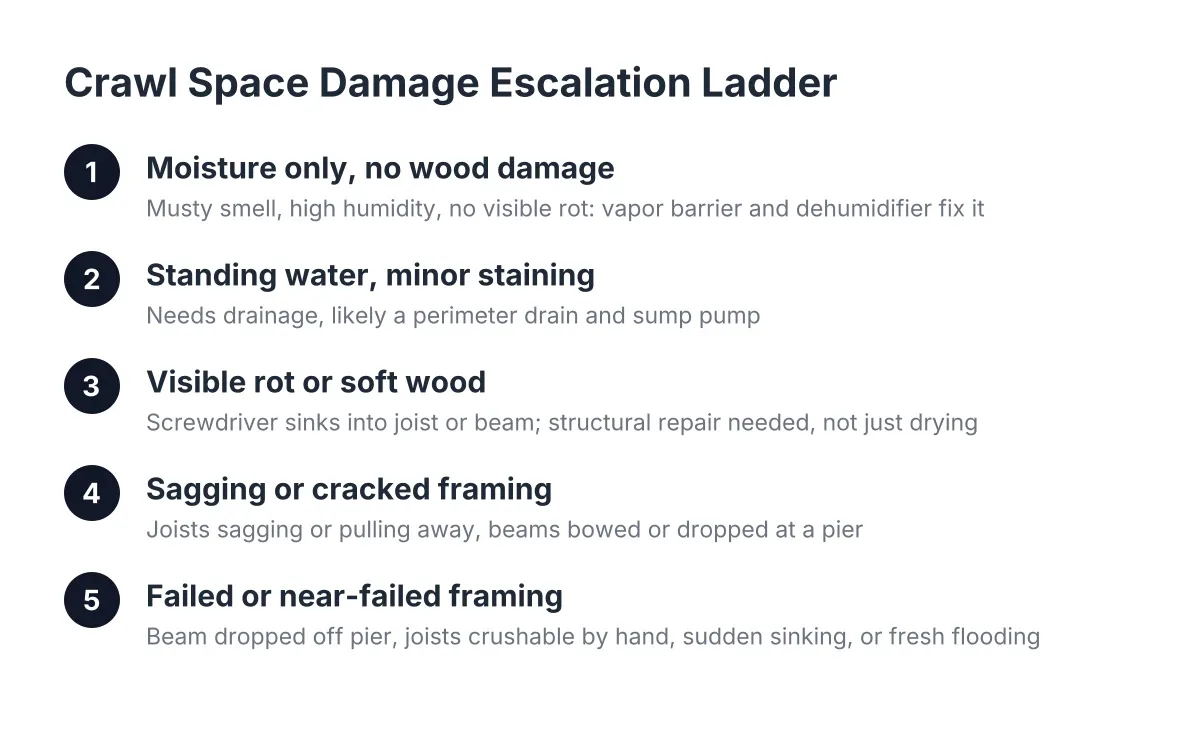
Treat it as a minor moisture repair when the rot is shallow and localized. For example, surface fungus on a few joists, a single soft spot in the subfloor under a bathroom, or staining without structural softness usually means treating the wood, sistering a joist or two, and fixing the moisture source.
Treat it as urgent structural work when you see any of the following:
- A main beam that has visibly dropped, cracked, or crushed at a pier
- Floors that slope noticeably or have sunk more than an inch in one area
- Doors and windows upstairs that suddenly stick or will not latch
- Joists you can push a screwdriver through to the handle
- Sagging that gets measurably worse over weeks, not years
When is a sagging floor an emergency? Rarely overnight, but decay compounds. Crawl space problems follow a predictable chain: moisture feeds mold, mold and fungus lead to wood rot, rot weakens the structure, and weakened, damp wood attracts pests. The earlier you break that chain, the cheaper the fix. Advanced wood rot repair can require tearing out and replacing entire runs of subfloor and joists, which costs several times what early intervention does.
Suppose a homeowner in West Ashley notices a musty smell and one bouncy spot near the kitchen. An inspection finds fungus on three joists and elevated moisture, but sound beams. In that scenario, treating the wood, sistering the joists, and adding moisture control might run in the low thousands as a rough estimate. If the same homeowner waits five years and the main beam fails at two piers, the job could involve support jacks, beam replacement, and subfloor work at several times the cost.
Step 3: Fix the Moisture Source Before Any Wood Repair
Never replace rotted wood while the crawl space is still wet. New lumber in a damp crawl space starts decaying on day one. Will a crawl space dry out on its own? In Charleston, no. Coastal humidity runs high year-round, and vented crawl spaces pull that humid air in all summer, where it condenses on cool framing.
Therefore, moisture control comes first. Depending on what the inspection finds, that may include:
- Repairing plumbing leaks or redirecting downspouts and grading water away from the foundation
- A crawl space drainage system, such as an interior perimeter drain and sump pump. A perimeter drain along the inside of the foundation wall intercepts water coming in under the foundation and channels it to a sump pump, according to the Building America Solution Center
- A sealed vapor barrier across the ground. Full crawl space encapsulation runs plastic sheeting across the entire floor and seals it to the stem walls and around support piers, rather than laying plastic loosely on the dirt, according to the U.S. Department of Energy
- A crawl space dehumidifier to hold humidity at a safe level once the space is sealed
Grading matters here too. Leveling the crawl space dirt and sloping it slightly toward the drain before installing the liner helps water reach the perimeter drain and sump pump instead of pooling in the middle, per the Building America Solution Center. On flood-zone and tidal lots this detail is not optional. Charleston recorded 17 high-tide flood days in the 2023-24 meteorological year, according to NOAA Tides and Currents, and that water table pressure shows up under houses.
Step 4: Repair or Replace the Rotted Framing
With the moisture handled, the structural work can start. Crawl space structural repair for rot generally uses one or more of these methods, from least to most involved:
- Treating and sealing wood with surface fungus but no structural loss, after cleaning off the growth
- Sistering, which bolts a new full-length joist alongside a weakened one so the new lumber carries the load
- Cutting out and replacing rotted joist sections or subfloor panels
- Beam repair or replacement, temporarily supporting the floor while a rotted section of the main beam comes out
- Installing crawl space support jacks, adjustable steel columns on proper footings that lift and hold sagging beams
A caution on treatment: how to treat wood fungus in a crawl space starts with removal and drying, not just spraying. Killing surface growth without controlling humidity means it returns. Also, resist the urge to wrap or cover repaired wood. A crawl space is a naturally damp environment, and covering wood traps moisture against it, which leads to hidden decay you will not see until it is severe.
This is licensed-contractor territory. Jacking a beam even a quarter inch moves loads through the whole house, and a bad lift can crack drywall, plaster, and tile upstairs. Structural joist and beam work belongs with a qualified crawl space or foundation repair contractor, not a handyman. If your piers or footings are failing rather than the wood, you may also need concrete foundation repair, which is a separate scope. When searching for foundation repairs near me, look for someone who works in crawl spaces daily rather than a general contractor who fits them in between other jobs.
Expect the repair scope to stop at the structure. Crews replace joists, beams, and subfloor; finished flooring and baseboards come after, from a flooring installer, since finishes should never go in before the structure is stable.
Step 5: Keep Wood Rot Out of the Crawl Space for Good
Repair without prevention is a subscription to the same problem. Encapsulation plus humidity control is the standard preventive approach, and prevention costs less than repeating Step 4.
A well-built system for a Charleston crawl space in 2026 typically includes a sealed vapor barrier, perimeter drainage with a sump pump where the water table demands it, and a dehumidifier sized to the space. In sealed, conditioned crawl spaces, insulation moves to the stem walls and rim joists instead of between the floor joists, per the Building America Solution Center. One detail worth checking locally: some codes require an uncovered termite inspection strip near the top of the foundation wall, according to Stego Industries, so the liner should not run all the way up.
Then maintain it. A sealed crawl space with equipment is like an HVAC system; it works as long as someone checks it. Build a simple schedule:
- Check the dehumidifier and clean or change its filter each season
- Test the sump pump before hurricane season and after any flood event
- Walk the vapor barrier once a year for tears, gaps, or standing water
- Get a professional inspection after any storm that puts water in the yard
For homeowners who already have an encapsulated crawl space, an annual service visit that covers the dehumidifier, sump pump, and liner is the cheapest insurance against ever repeating a wood rot crawl space repair. Rot needs sustained moisture to grow. Take the moisture away, keep it away, and the framing under your house can outlast everything above it.
Prefer to talk it through? Call +18542013678 — a quick call is usually the fastest way to get a straight answer for your situation.